DO/Maps/The Trading Post
From Dark Omen Wiki
The first map of the single player campaign.
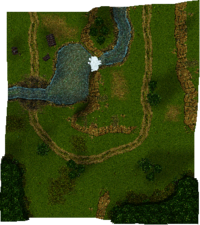
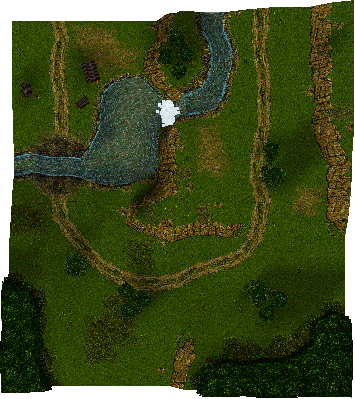
3D SCREENSHOT HERE OVERVIEW MAP HERE
Contents |
Single player
Bernhardt is the leader of the Mercenary troop, The "Grudgebringers". Bernhardt's Regiment is a Cavalry unit, and additionaly there are a regiment of Infantry, Crossbow-marksmen and a Canon belonging to the "Grudgebringers". They have to protect a small Trading Post against Goblins.
Own regiments [AD] [AD] [AD] [AD]
Enemy's regiments 2x[AD] 2x[AD]
Walkthrough
The Trading Post is placed in the north-west of the map. The "Grudgebringer" starts on the eastern side. The enemy its will use the north-east path to reach the "Grudgebringers". At the beginning, there are a regiment of "Night Goblins" and a regiment of "Night Goblin Archers". After defeating both, another two of these regiments will come along. If you finish these two as well, the first battle is won!
Tactics
Most effective tactics is to position archers and artillery between the copse and small cliff face at the top right of the deployment zone and hammer the approaching enemy units while keeping your melee units out of range of the enemy's Night Goblin Archers. This way you can kill or rout all enemy units without allied losses. If you want experience for your cavalry and infantry march them to the north of your artillery meed the surviving enemies with the infantry and flank them with the cavalry.
Notes
The second wave is positioned outside the legal battlefield area behind the trading post buildings next to the cliff. If you charge the correct place you can actually engage them in melee before they're moved to the map.
Multiplayer
MAP WITH DEPLOYMENT ZONES HERE


